通过GitHub发布
修改组件包配置
修改根目录下的widget.package.ts文件中的remote配置,将hostname改为你的GitHub Pages域名,base改为你的仓库名。
typescript
export default new WidgetPackage({
  remote: {
    base: '/hotspot',                   // 👈 github仓库名,注意:开头要加上斜杠
    hostname: 'widget-js.github.io',    // 👈 github pages域名
  },
})
配置GitHub Actions
在项目根目录下创建 .github/workflows 目录,并在该目录下创建一个 github-page.yml 文件,添加以下内容:
yml
# This workflow will do a clean installation of node dependencies, cache/restore them, build the source code and run tests across different versions of node
# For more information see: https://docs.github.com/en/actions/automating-builds-and-tests/building-and-testing-nodejs

name: Deploy CI
permissions:
  id-token: write
  pages: write

on:
  push:
    branches: [ "master" ]
  pull_request:
    branches: [ "master" ]

jobs:
  build:
    runs-on: ubuntu-latest
    steps:
      - name: Checkout
        uses: actions/checkout@v4
      - name: Use Node.js
        uses: actions/setup-node@v4
        with:
          node-version: '18.x'
      - name: Build static files
        id: build
        run: |
          npm install
          npm run build
      - name: Upload static files as artifact
        id: deployment
        uses: actions/upload-pages-artifact@v3
        with:
          path: dist/

  deploy:
    environment:
      name: github-pages
      url: ${{ steps.deployment.outputs.page_url }}
    runs-on: ubuntu-latest
    needs: build
    steps:
      - name: Deploy to GitHub Pages
        id: deployment
        uses: actions/deploy-pages@v4
提交代码
将修改后的代码提交到GitHub仓库,GitHub Actions会自动构建并部署到GitHub Pages。
shell
git add .
git commit -m "Add GitHub Actions workflow for deployment"
git push origin master # 👈 注意:将master替换成你的远程分支提交后,可以在仓库的Actions界面看到构建和部署的过程。 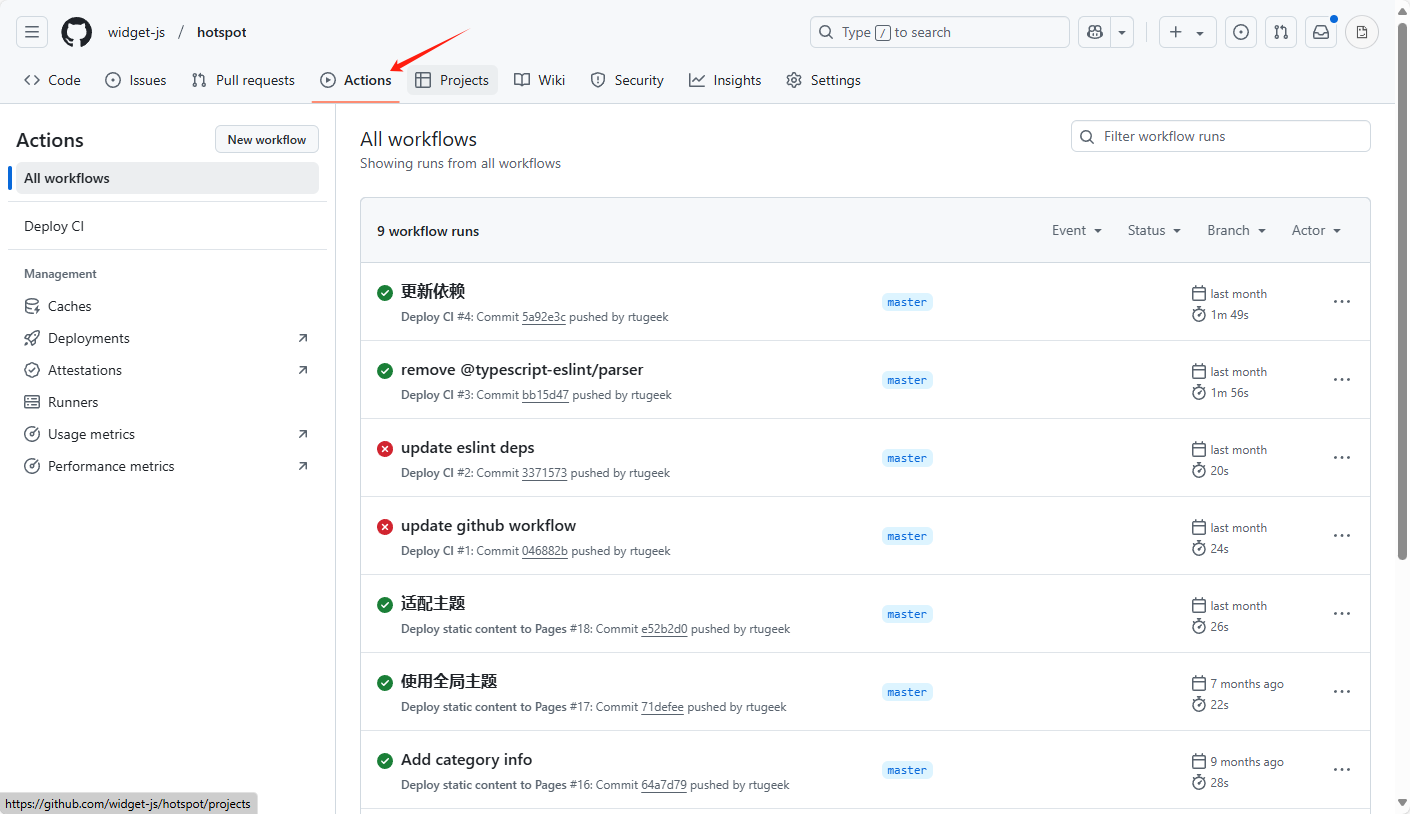
✅ 部署成功后,可以通过 https://<your-github-username>.github.io/<your-repo-name> 查看页面是否能被正常访问。
发布组件包
在项目根目录运行以下命令发布组件包:
shell
widget publish -k <your-publish-token>输出以下信息表示发布成功:
shell
✔ Widget.json found: C:/xxx/xx/xx/widget.json
i Package name: xx.xxx.xx
i Widget size: xx
✔ Widget published successfully.
WARNING
发布完成后需要等待管理员审核,审核通过后组件包才能在桌面组件客户端中搜索到。联系管理员 rtugeek@gmail.com 可加速审核。